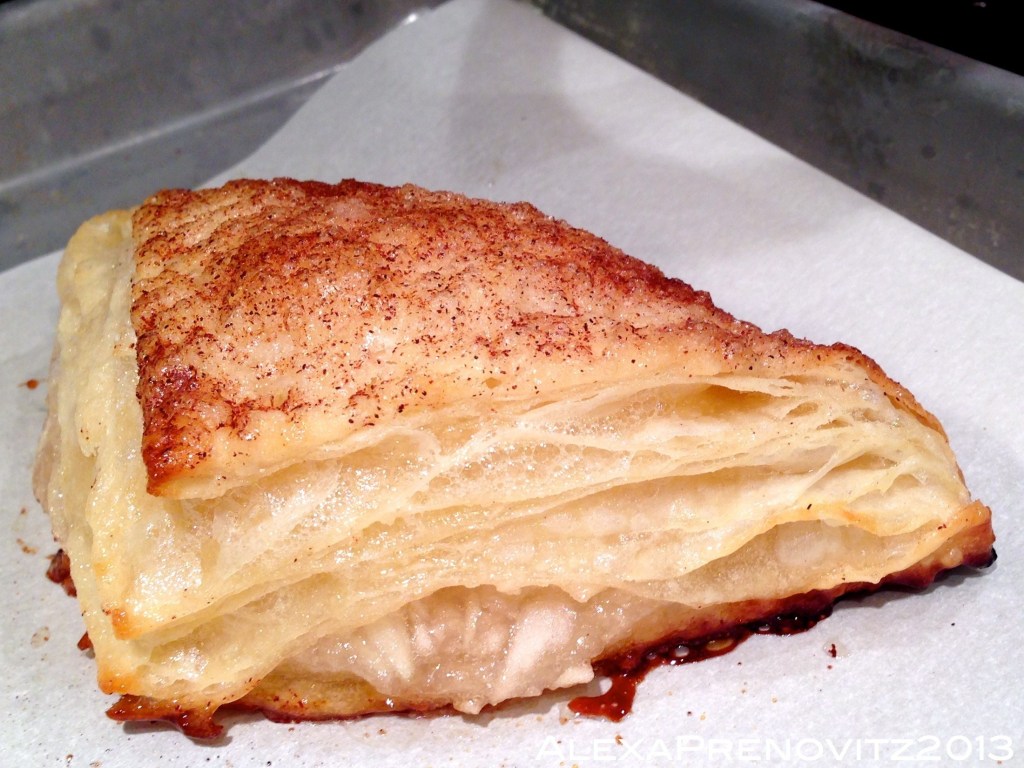
They look beautiful, they taste nice, but after two days of this nonsense the novelty has worn off and I’m grumpy. This grump factor is easily avoided by not being the lunatic that makes your own puff pastry dough.
I took the Cook’s Illustrated approach to this recipe to see what yields the best results, and unfortunately it’s to make your own puff pastry dough (start really early in the morning) and then bake off the turnovers as soon as they’re set and serve them immediately. Letting them sit in the freezer to be baked at a later date doesn’t do the dough any justice and results in a flaky first two layers while the rest are frankly a little sodden.

The good news is the filling remains delicious and your kitchen/house will smell amazing. This recipe is also from my Cook’s Illustrated Cookbook and makes eight turnovers.
And away we go:
1 pound apples, peeled, cored, and chopped coarse (I used Empires because that’s what I had. The recipe recommends Granny Smith)
¾ cup sugar
1 TBS lemon juice
1/8 tsp salt
½ recipe Puff Pastry Dough divided into two 8-ounce pieces
½ cup applesauce
1 tsp ground cinnamon
- Adjust the oven rack to middle position and heat oven to 400 degrees. Line rimmed baking sheet with parchment paper
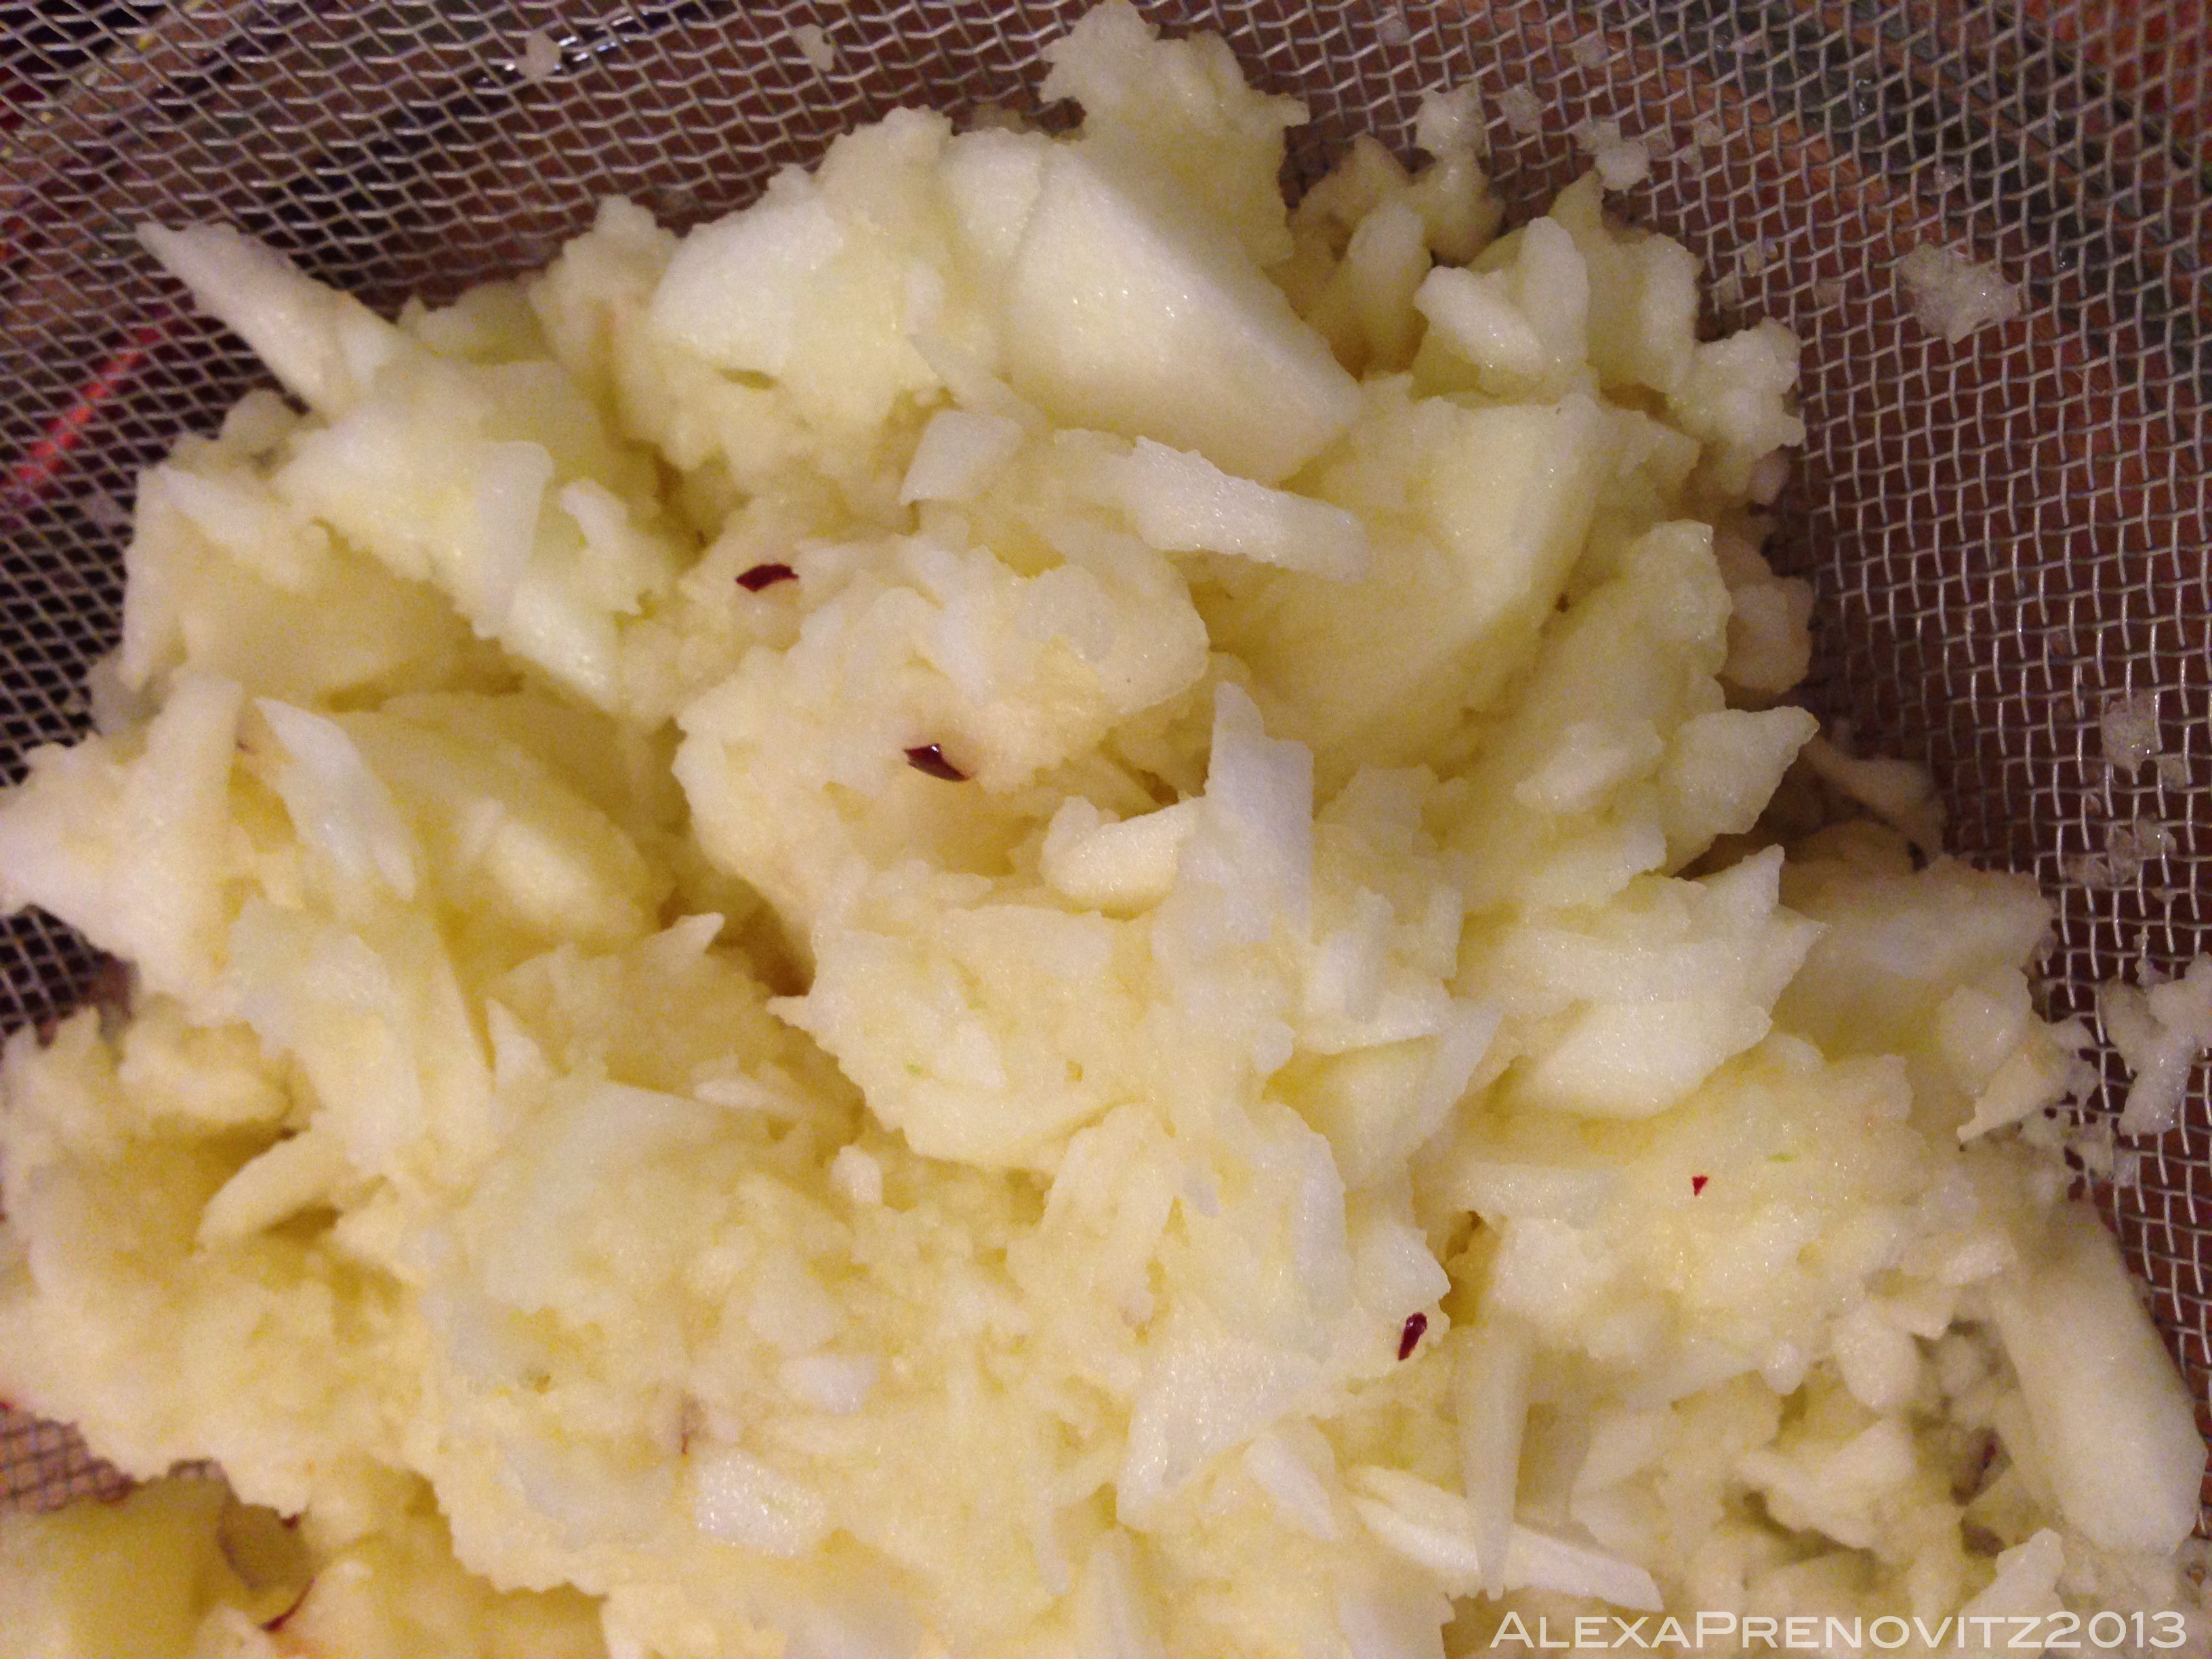
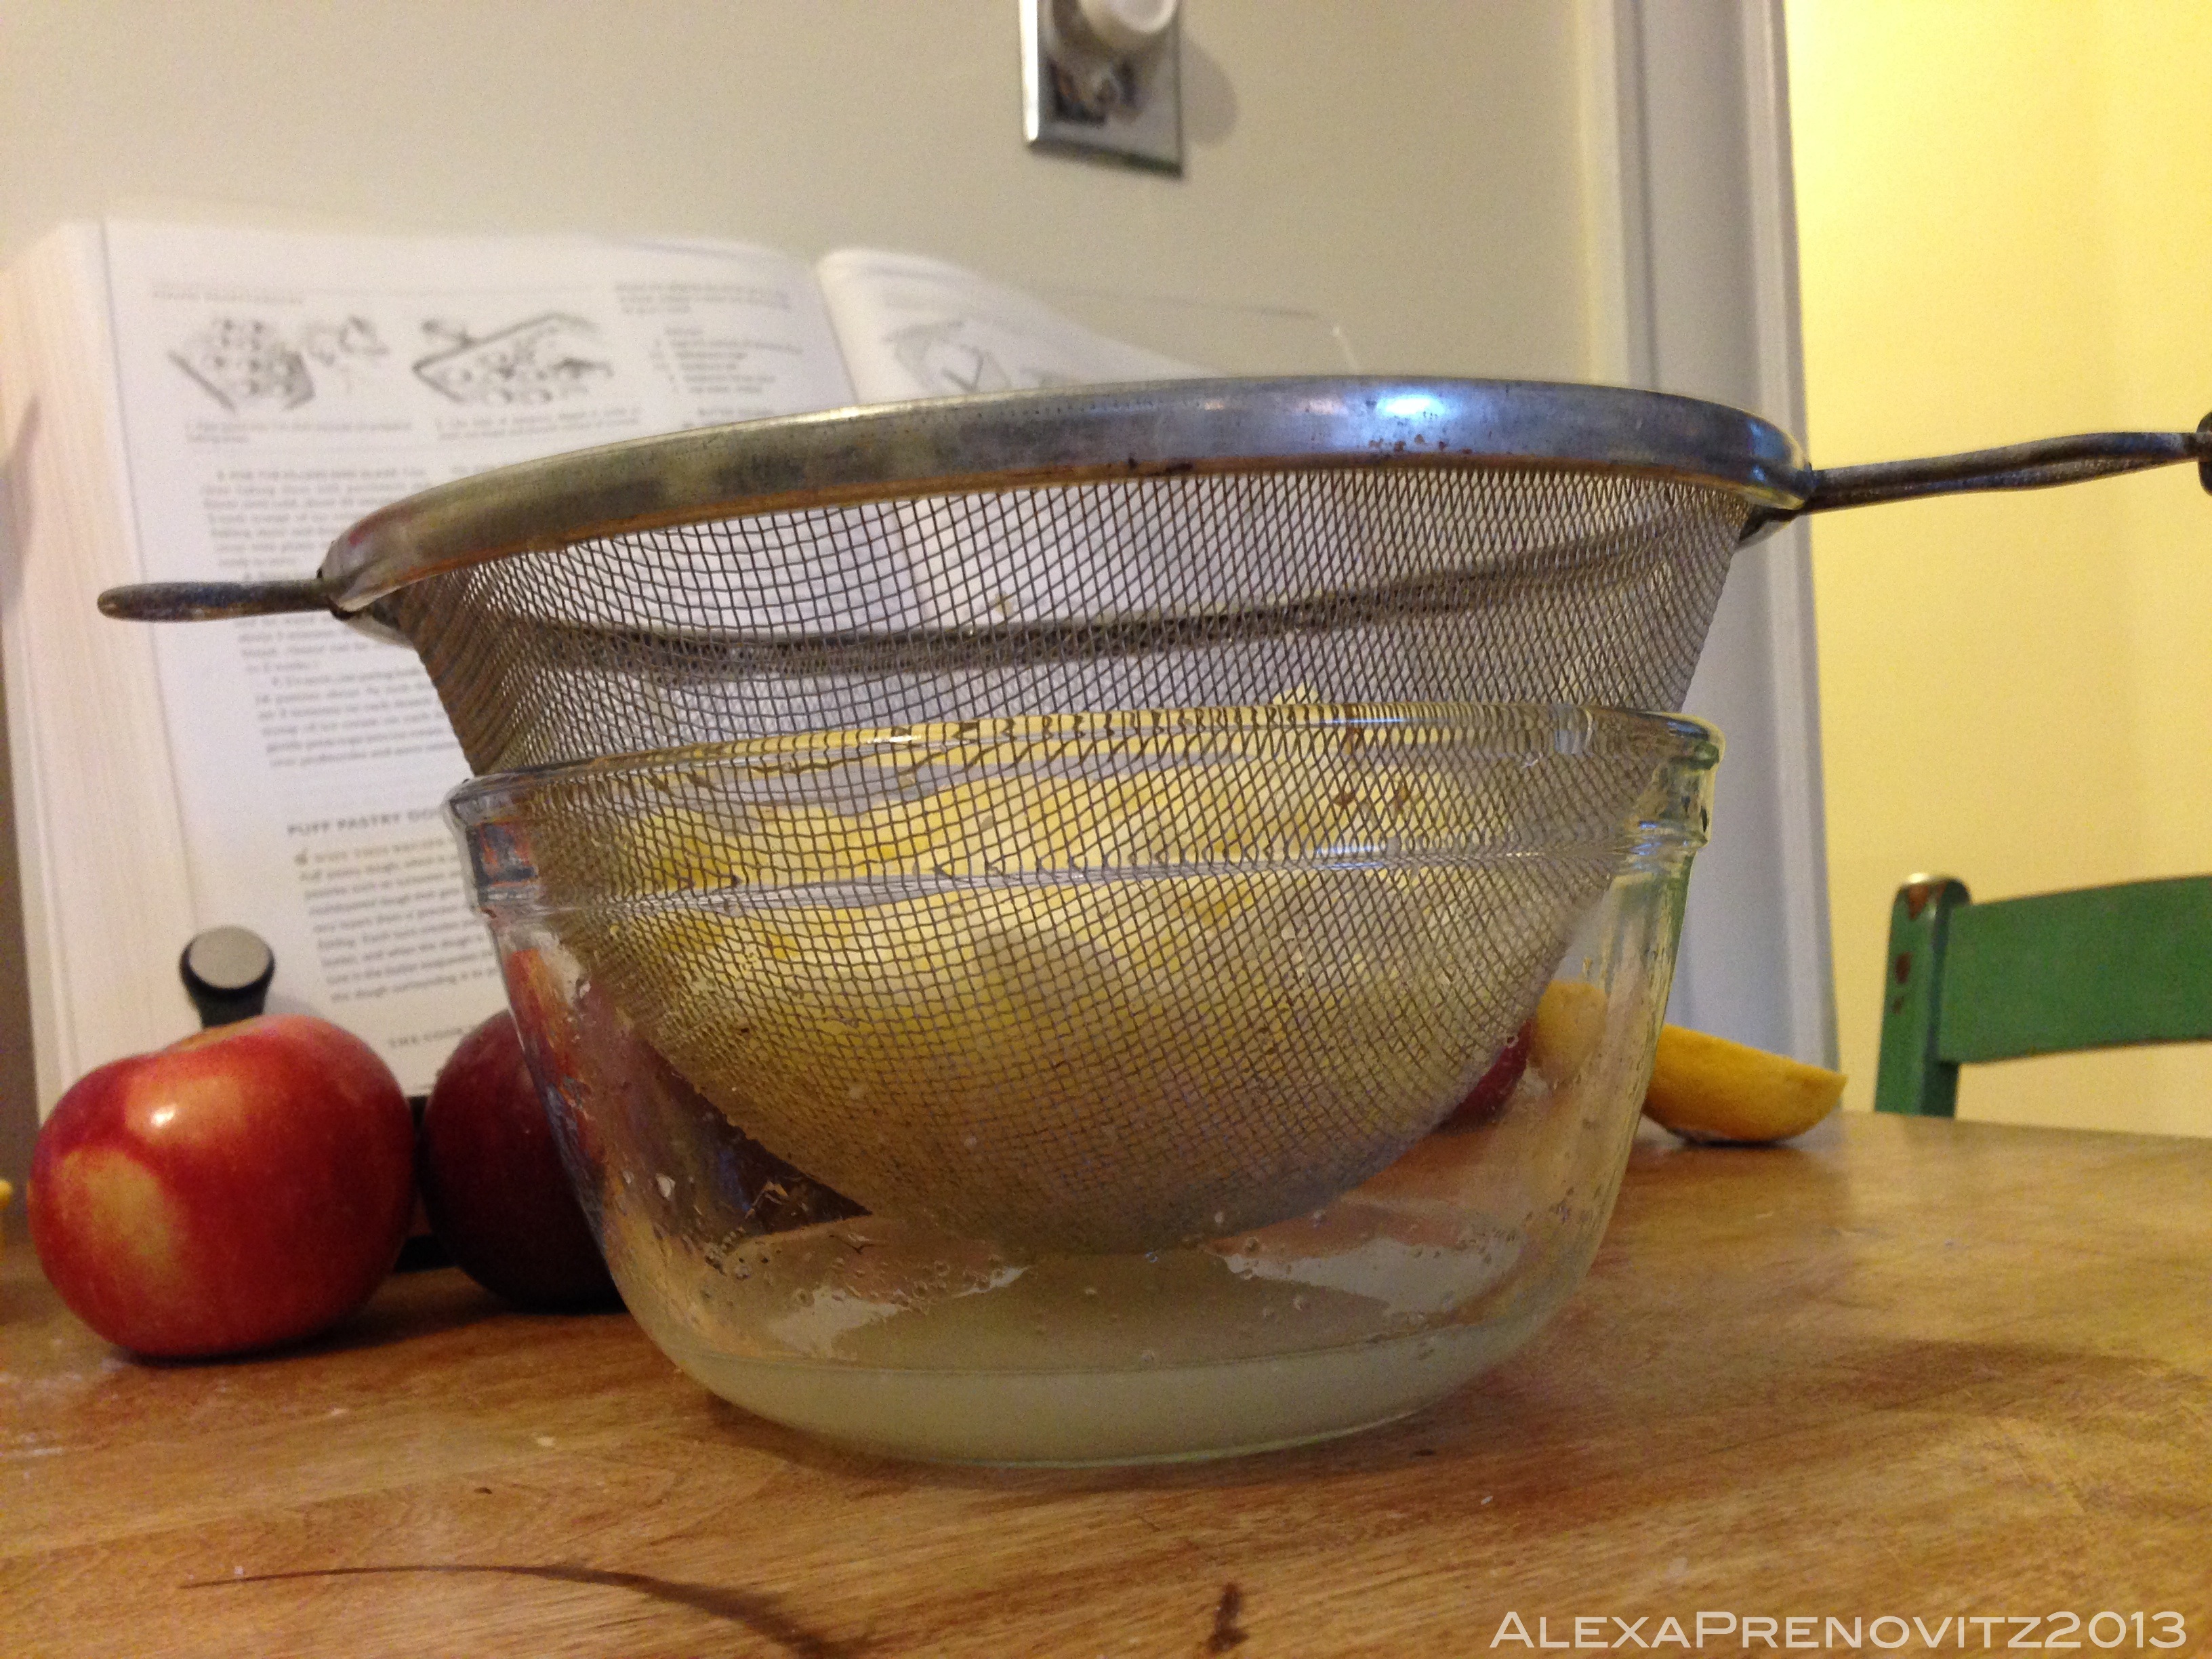
- Pulse apples, ½ cup sugar, lemon juice and salt together in food processor until the largest pieces of apple are no larger than ½ inch. Let mixture sit for 5 minutes, then transfer to fine-mesh strainer set over bowl and let apples drain, reserving juice, until needed.
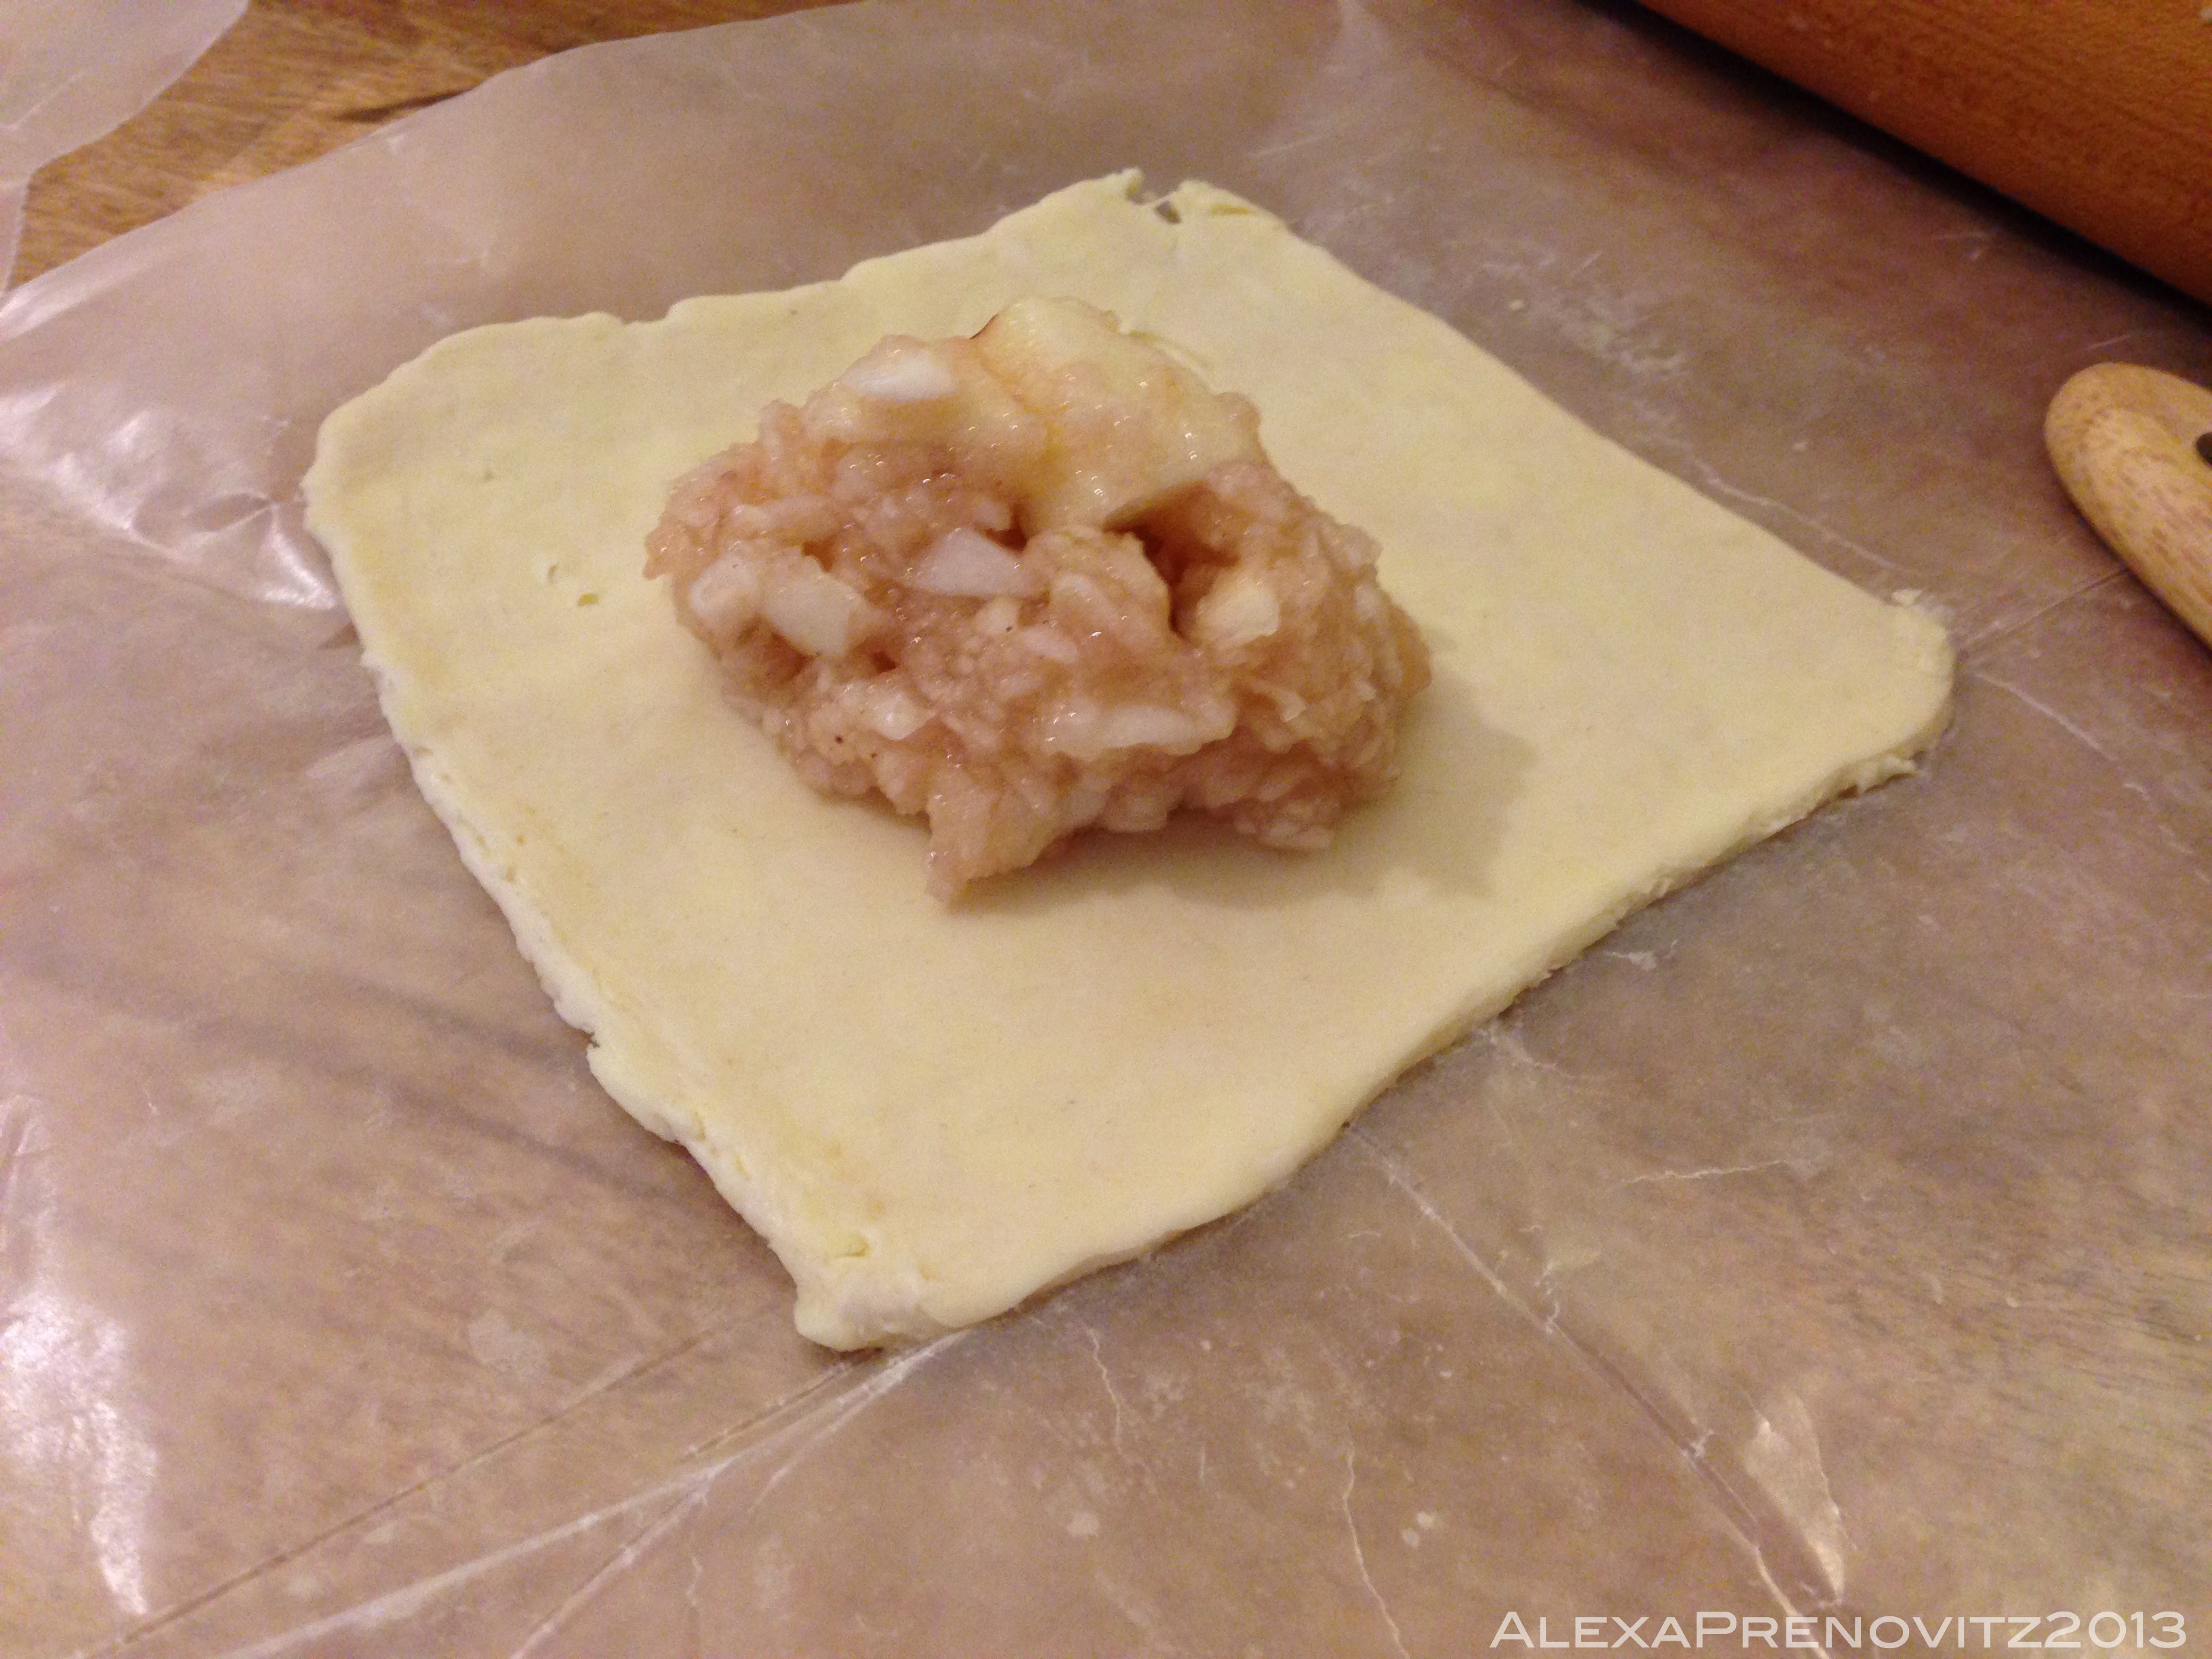
- Roll each piece of dough into 10-inch square and cut into 4 even squares.
- Toss drained apples and applesauce together in separate bowl. Place 2 tablespoons of apple filling in center of each piece of dough (less if the dough shrinks like mine did after cutting into sections).
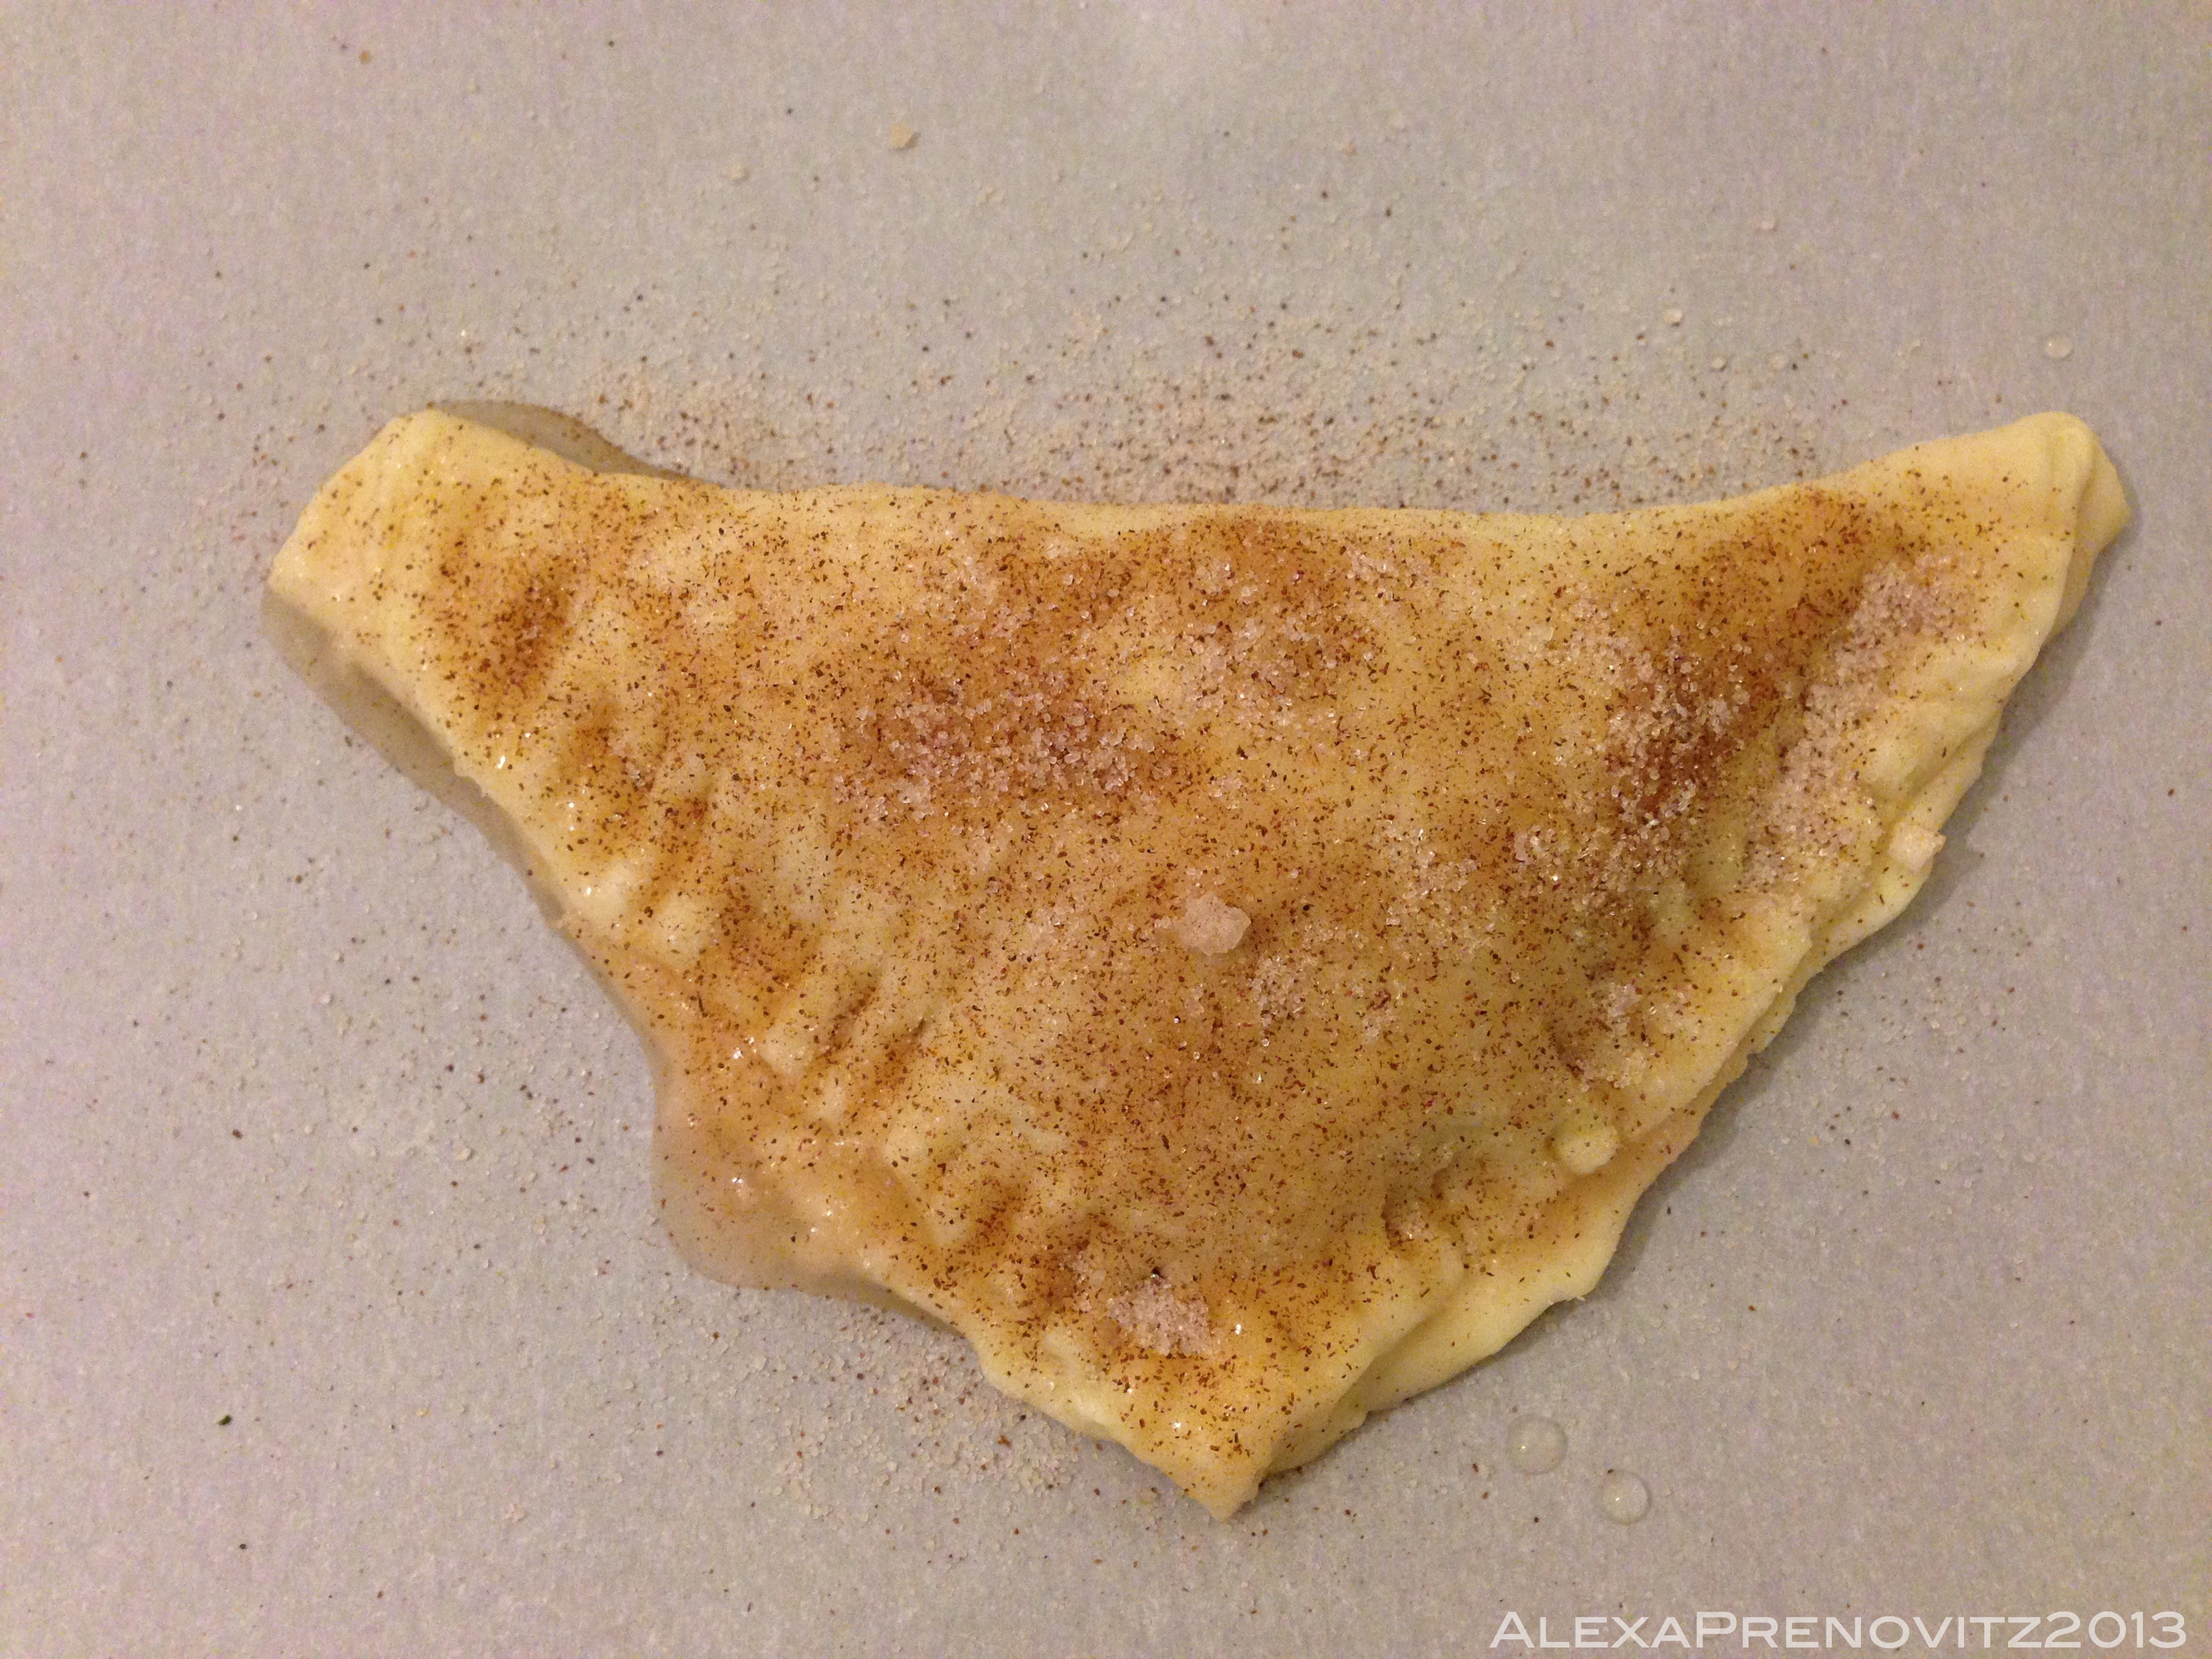
- Brush edges of dough with reserved juice, then fold the pastry dough over the filling. I believe diagonally so you end up with triangles is traditional but very frustrating so I did some triangles and some rectangles. Crimp edges of dough with a fork to seal.
- Lay turnovers on your prepared baking sheet and freeze until firm, about 15 minutes. The recipe says that assembled turnovers can be frozen for 1 hour then put in a ziplock bag and frozen for up to a month.
- They say to let the fully frozen turnovers sit at room temp for 20 minutes before following the baking instructions. I didn’t find that the turnovers that were frozen fully and stored were as good as baked right away.
- Combine remaining ¼ cup sugar and the cinnamon in a bowl. Brush turnovers with the reserved juice and sprinkle the cinnamon sugar over the top. (also tried this with egg wash and the juice worked better). Bake turnovers until well browned, 20 to 26 minutes, rotating the pan halfway through for even baking. Immediately transfer the baked turnovers to a wire rack to let cool.


In baking adventures you win some, you lose some. This was a draw. Made from scratch, assembled, and baked immediately these are just sensational, and made for later baking they’re disappointing. As my mom says, suck it up and move on. Time to peruse the pantry to see what else I need to use up. What was your last cooking disappointment?


Leave a comment